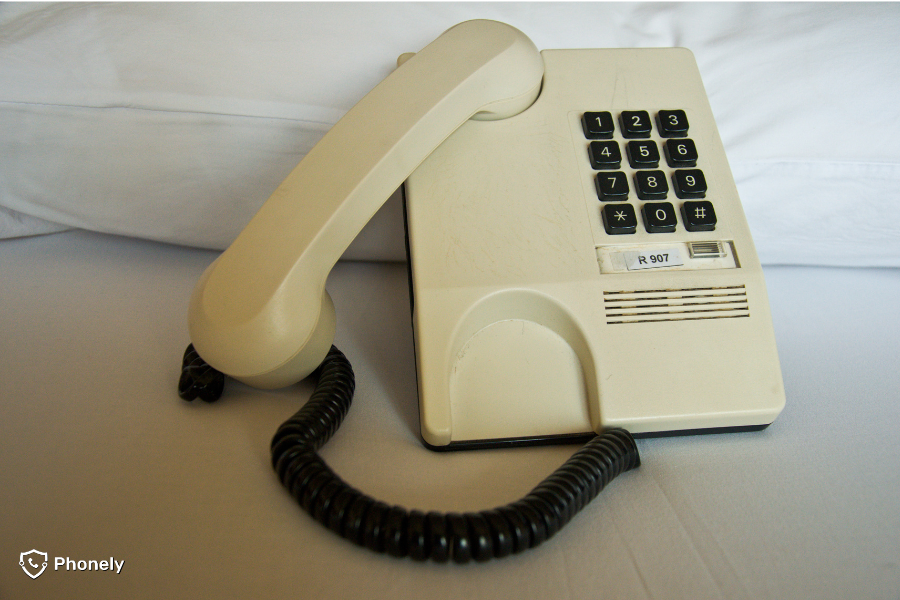
If you’re considering making the switch to VoIP but worried about parting ways with your trusty home phone, then you are not alone! Many of us have an attachment to our traditional handset. Either that or are simply not interested in learning how to use a more technical model. The good news? There’s a device called an ATA adapter that can help you keep your favourite phone while embracing the world of digital voice. Continue reading to learn about this adapter and how it can make your transition to VoIP a super smooth one.
What on earth is an ATA adapter?
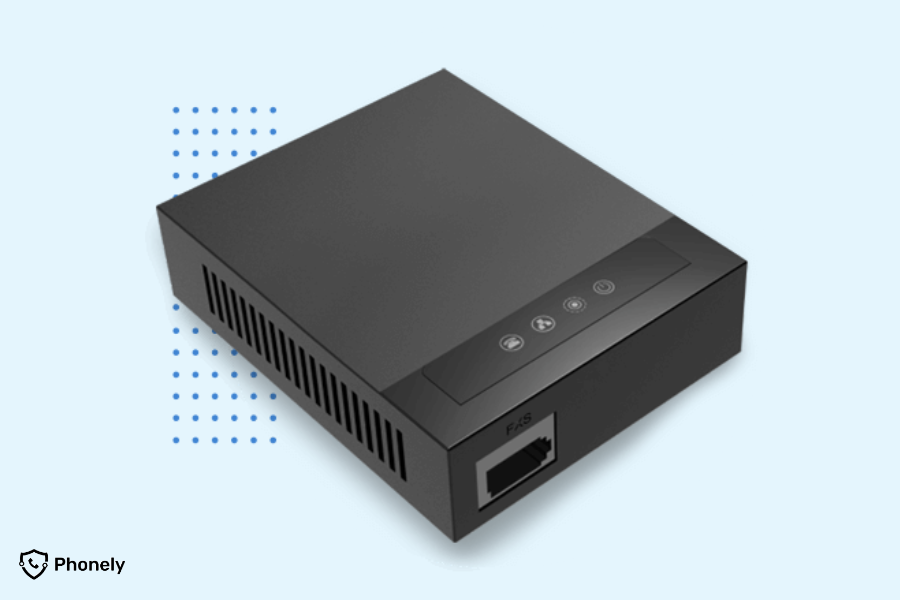
ATA stands for Analogue Telephone Adapter – so technically we’re all saying the word adapter twice! Anyway, in simple terms, it’s the interpreter between your old-school analogue phone and the digital language of VoIP. Think of the ATA adapter as a tiny, tech-savvy companion for your phone, enabling it to chat fluently with internet-based phone systems.

Why bother with an analogue telephone adapter?
One of the biggest benefits of an adapter for VoIP is the money that you will save. Switching to VoIP or digital voice typically reduces phone bills, and by using your existing phones, you avoid the additional expense of buying new VoIP-enabled ones. Plus, the familiarity of your current handheld phone means you dial and chat just like you always have without having the daunting task of learning how to use a new handset.
How does ATA adapter work?
If you think about analogue and VoIP as two different languages, the ATA works as a translator. As you may well know, digital voice works via your router and only understands digital data. When you speak into your analogue phone, your ATA adapter will convert your voice into digital packets which can then be sent over the internet to its destination. Of course, this process happens almost instantaneously and as little boxes go, we think the ATA is pretty clever!

Setting up your ATA adapter for VoIP
Again, new technology can be daunting, we don’t know about you, but it seems like the older we get the more complicated these things feel! Yet concerning setting up your analogue telephone adapter, if you can plug in a few things, then it’s super simple.
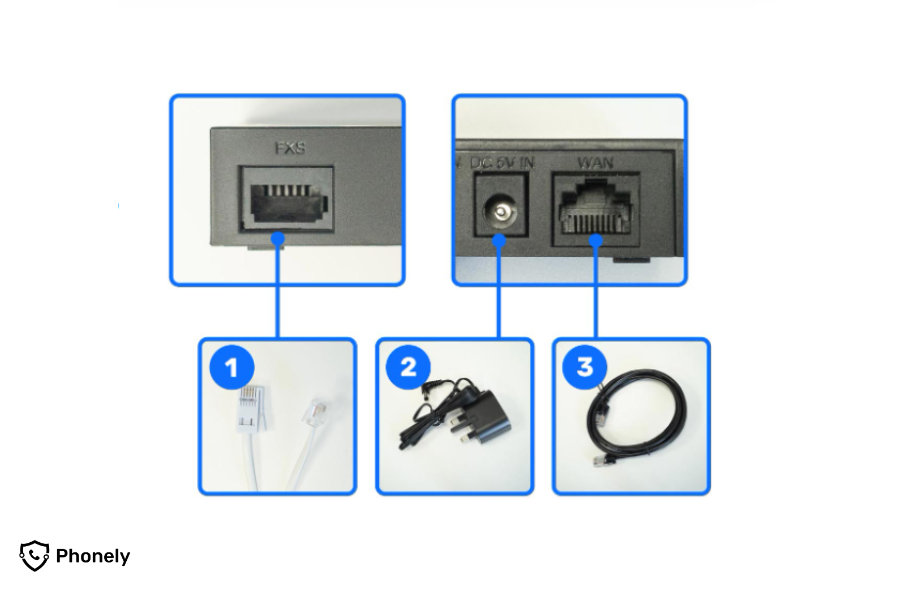
If you purchase any hardware from Phonely, we provide a step-by-step guide with pictures. You will receive it in your delivery and you can also download a copy from our website. In addition, we have video tutorials and our service team is only a phone call away if you need someone to talk you through it. Below is what you can expect to do for installation:
1. Plug the ATA adapter into your router with an Ethernet cable (this is usually supplied). See our FAQs if your router doesn’t have an Ethernet port.
2. Connect your analogue home phone to the ATA using the phone cable that would normally plug into your wall phone socket.
3. Power up the ATA by plugging it into an electric socket.
4. Call up your friends as you’re all set!

Digital voice adapter, a final thought
A device that allows your analogue phone to use digital voice is a brilliant bridge between the telephone tech of yesterday and the VoIP of today (and tomorrow!). It allows you to honour your attachment to traditional phones while still benefiting from modern, cost-effective communication methods. Plus, it’s a great conversation starter – “Oh, this old thing? It’s connected to the internet, you know!”
So, if you’ve been on the fence about VoIP because you can’t bear to part with your trusty landline phone, an ATA adapter might just be your new best friend. Give one a try, and who knows? You might find yourself falling in love with your old phone all over again!

Leave a Reply